Document information
| Document level: | Level 0 |
| Scooter models: | All GO! models |
| Document date: | February 2, 2025 |
Procedure information
| Time to complete this procedure: 1 min opening / 1 min closing | |
| Tools needed to complete this procedure: – Seacraft service key |
Step-by-step instructions
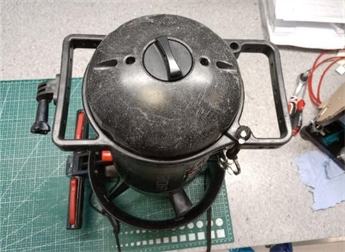
Opening the scooter
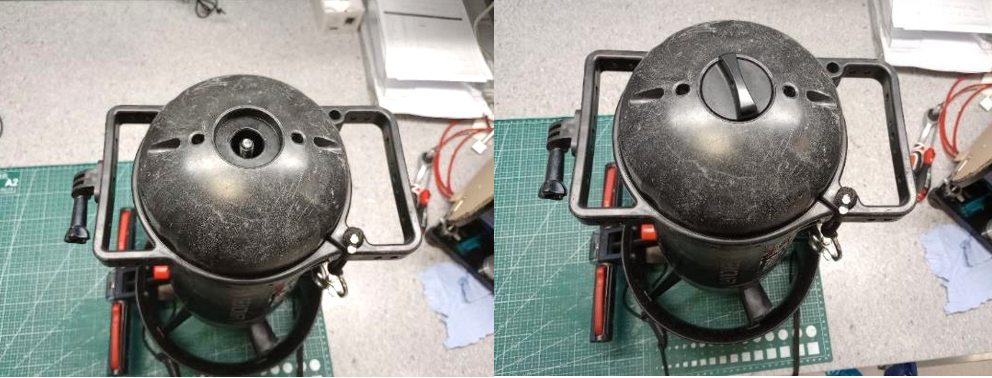
Unscrew the lid knob.
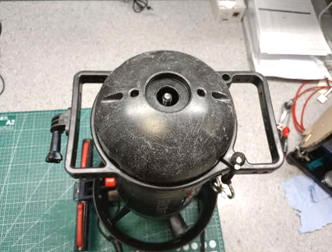
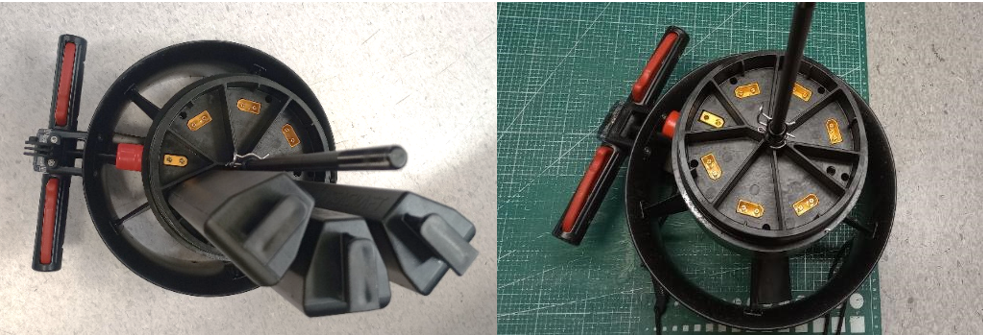
Pull off the body tube, then unscrew and pull off the nut and the battery cover.
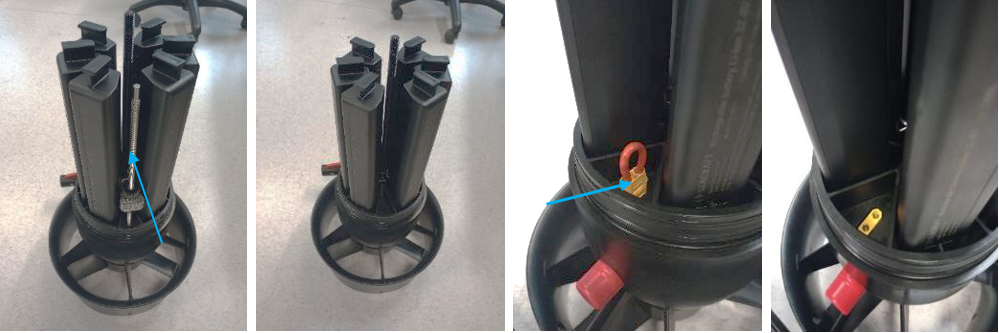
Remove the ballast screw and the power disconnector.
The power disconnector must necessarily be removed before removing the battery.
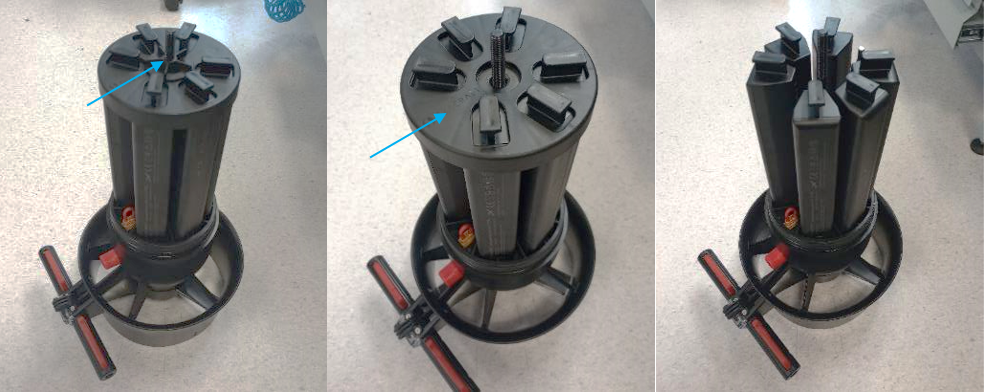
Remove the batteries.
Closing the scooter
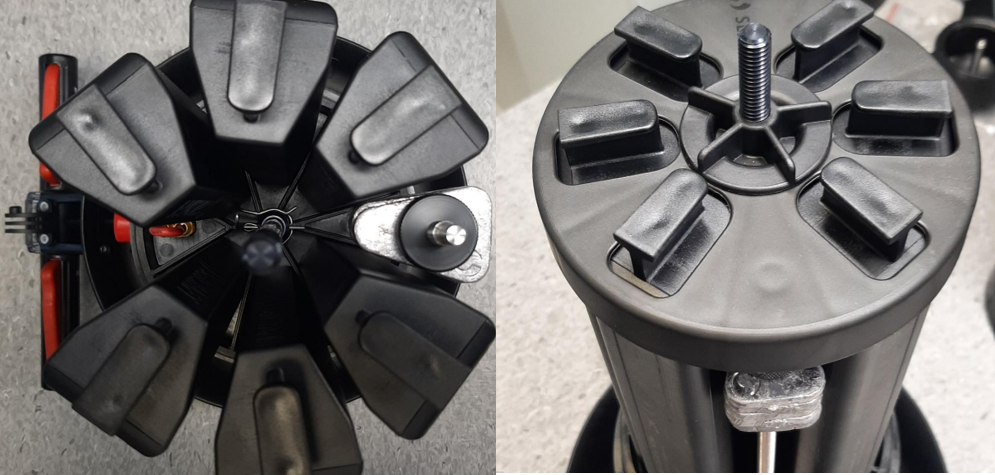
Insert 6 pieces of battery segments, ballast and power disconnector. Put on the battery cover and tighten it with the battery nut.
Make sure that body o-rings are clean, and lightly lubricated with silicone grease.
Insert the tube, and align it with DPV. Push it gently down, and make sure that there is no gap left between tube rim, and body.
Check o-rings on the cap nut, and make sure that they are clean and lightly lubricated with silicone grease.
Screw the knob onto the axial pipe, until resistance is met.
In case of questions or problems,
do not hesitate to contact us: service@seacraft.eu.