Introduction
CONGRATULATIONS!
By purchasing this Seacraft Li-Ion battery charger, you have a reliable device at hand, to charge the modular Seacraft battery.
Before operating the this charger, carefully read this manual and follow all instructions given. Manual and proof of purchase should be retained, easily accessible after purchase.
The manufacturer reserves the right to change the specifications of the device without prior notice, so please check regularly this website for the current version of this manual.
Symbols used in this manual
In order to make reading this manual easier, we use the following symbols to point out certain types of information:
 | Before use, read the manual! |
 | Keep out of reach of children and minors under the age of 18. |
 | Do not overheat! |
 | Caution! This symbol marks important information to avoid severae damages, injuries or even death. |
 | Information on handling of Li-Ion batteries |
 | Information on disposal of this product. |
Safety information
Important information for using the charger
Always observe the following information and rules to make sure, that this charger is used in a safe way.
Every Seacraft battery charger is fitted with a number of labels, pictograms as well as information and warning signs. Their removal from the surface of the device is prohibited.
The charger user is required to replace worn or damaged labels and pictograms with new ones.
The manufacturer is not liable for accidents and damage resulting from incorrect use of the charger resulting from failure to read the charger manual or lack of knowledge on the content of labels, pictograms, warning and information signs, as well as a result of its use in a manner contrary to or deviating from the principles set out in this manual.
Specifications
The Seacraft Li-Ion charger with 120 W has the following parameters:
| Max. Power | 120 W |
| Power supply voltage | 110/230 V AC |
| Output voltage max. | 37,8 V DC |
| Charging current max. | 7,5 A |
The charger provides over current, over voltage and short circuit protection.
The connection polarity is arbitrary.
If the battery is discharged below the acceptable voltage (end voltage), the charger may not charge any further.
Charger front panel

The charger’s front panel contains the fuse, the ventilator opening and the 2 status LEDs. These LEDs show the current charger status as follows:
| LED 1 (AC Input) | LED 2 (DC Output) |
| Grey = Charger not active Red = Charger switched on | Red = Battery is being charged Green = Battery not connected or charging process complete |
Using the charger
Charging procedure
Proceed as follows, to charge your scooter’s battery – proceeding in a different order may not be successful:
- Connect the charger to the AC mains power supply.
- The status LED 1 should illuminate as yellow, the AC power state should be indicated by LED2 as red.
- Wait about 30 seconds and connect the charger’s DC output to the scooter’s charging socket (the plug’s oriantation is not important – it will work either way).
- The mentioned delay is important, because the charger will perform a current detection and calibrate itself. This will not happen, if the charger is already connected to the scooter battery.
- When the battery is connected, LED2 will change from green to red after a few seconds. This state means the start of the charging process. Apart from this, you will hear the charger fan working.
- Observe the charging level indicator on the scooter display to check the charging progress.
- The charger has a built-in temperature protection. Therefore, do not cover the charger or fan during the charging process and ensure maximum heat exchange. If the internal temperature exceeds 75 °C, the charging process will be interrupted. It is necessary to cool the charger and to repeat the starting sequence to resume it.
- During the charging process, the red LED 2 may switch off.
- The charger recharges the battery with a pulse method i.e. charge / check system.
- The first few seconds after the battery is connected are used for testing the battery. Charging will not start if the charger finds any incompatibility.
- You may follow the charging procedure by observing the LEDs on the right side of the scooter display. Each LED stands for approx. 11 % of charging level.
- The charging procedure ends when the colour of LED2 on the charger changes from red to green.
- If for some reason the charging process is interrupted, the charger must be switched off / disconnected from the battery and the mains and then after approximately 30 seconds restarted, as described above.
Troubleshooting
If the battery charger is not working properly check the following:
- Are battery and charger connected properly?
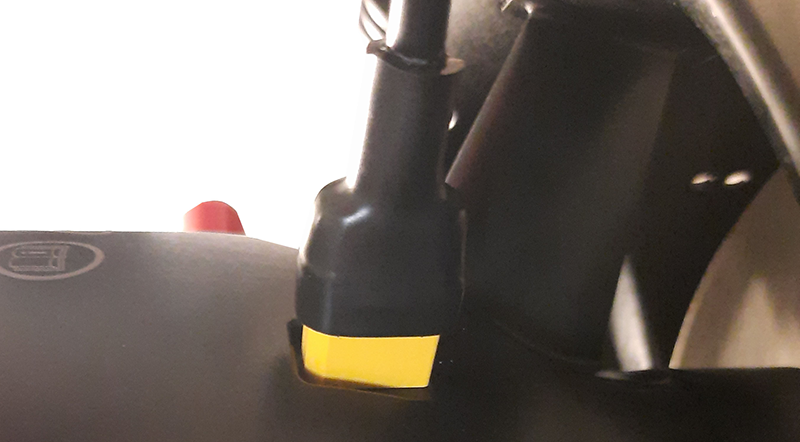
- Please also check, if the safety disconnector inside the scooter is plugged in.
- Are the battery and charger voltage range correct?
- Check, if the charger matches the battery specifications and the local supply voltage.
- Is the battery in „protected” state?
- This means, that the battery has been discharged deeply and needs to be checked by the Seacraft service.
- Is the battery overheated?
- Is the charger’s fuse blown?
- In this case, you may replace the fuse by a suitable one.
After analysing the problem and eliminating it, the charger must be disconnected for at least 30 seconds from the battery and mains power supply and then restarted in the correct order as specified in the above instructions. Contact your Seacraft reseller or Distributor, if the problem persists.